
Photo Guide
Good photos will help us understand your room's layout, architectural features, and proportions so we can create concepts that fit your actual space. The clearer your photos, the better we can reimagine your room. You don't need a professional camera or photography skills. A smartphone in good daylight is all you need. What matters is showing us the space clearly: the full walls, how they connect, where the windows and doors are, and the overall shape of the room.
Before You Start
Clear the clutter
Remove as much as you can — everyday items, anything that obscures the walls, windows, or architectural features. We need to see the structure of the room and how the furniture sits within it.
Use natural light
Take photos during the day with curtains or blinds open. Natural light gives us the clearest sense of the space.
Stand back
The further back you can get, the more we can see. If you're cramped for space, step into a doorway or adjacent room if it helps.
Use 0.5x zoom (wide angle)
Most newer smartphones have a 0.5x or wide-angle camera option. This captures much more of the room in a single shot and is especially helpful in smaller spaces. Look for the "0.5x" or "wide" button in your camera app — it makes a big difference.
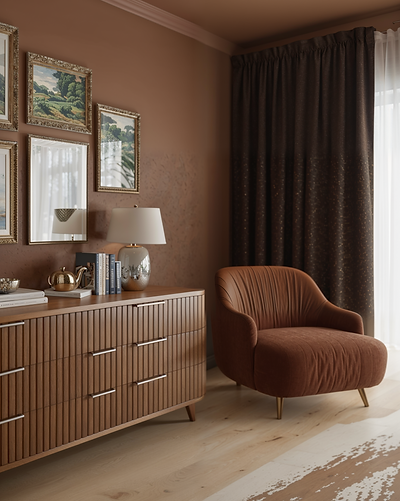
Straight-On Views
Straight-on photos capture an entire wall face-on, as if you're standing directly in front of it. These help us understand the room's dimensions and key features. Try to get windows, doors, or architectural details (like fireplaces or alcoves) fully in frame without cropping them.

Landscape Straight-On
Stand directly in front of a wall and frame the full width. Hold your phone horizontally. Try to capture as much of the adjacent walls on either side as possible, this helps us understand how the room connects. Imagine you're taking a photo to show someone the whole wall at once.

Portrait Straight-On
Stand directly in front of a wall and frame the full height. Hold your phone vertically. This works well for taller walls or when you want to show ceiling height. Again, try to include portions of the walls on either side.
Corner Views
Corner photos are taken from a corner or position where you can see two walls meeting. These give us a sense of depth and how the room flows. Include window and door openings in these shots as they're important architectural features that shape how the room feel


Wide Corner View
Stand in one corner of the room and point your camera across to the opposite corner. This captures two full walls meeting and gives us the widest view of the space. It's especially useful in larger or open-plan rooms.
Short Corner View
Stand in or near a corner and frame the two walls that meet there. This tighter shot still shows depth but focuses on a specific area. Useful in smaller rooms or to highlight a specific area.
How Many Photos Do I Need?
Minimum: 3 photos
Recommended: 4–8 photos
At least one straight-on shot of each main wall, plus 1–2 corner views from different positions.
Take more than you think you need
Different angles give us options to work with. If you're unsure whether a shot is useful, include it anyway.
Don't worry about perfection
We're looking for clarity, not artistry. Wonky angles and visible furniture are fine as long as we can see the space.
Can't get far enough back?
If your room is small or awkwardly shaped, do your best. Even partial views are helpful when combined with other angles.
Frame what matters to you.
If there's a feature you love (or want to change), make sure it's visible in at least one photo.
Not sure if your photos are good enough?
Submit them anyway. If we need anything else, we'll let you know before we start.


Have a question?
We'd love to
hear from
you!

.png)
